I do not expect you to learn anything from reading this as it is probably already known but it is in stead a step by step walk through (not Guide) on how I do it. There are quite a few stages so if you are going to follow it be prepared to spend some time and effort. I can't really say more than that. Just follow the pictures read the notes and then if you choose leave a comment. You may well have a better way of doing any of the steps and I am more than happy to take any tips and hints from you as well.
This is just how I do it.
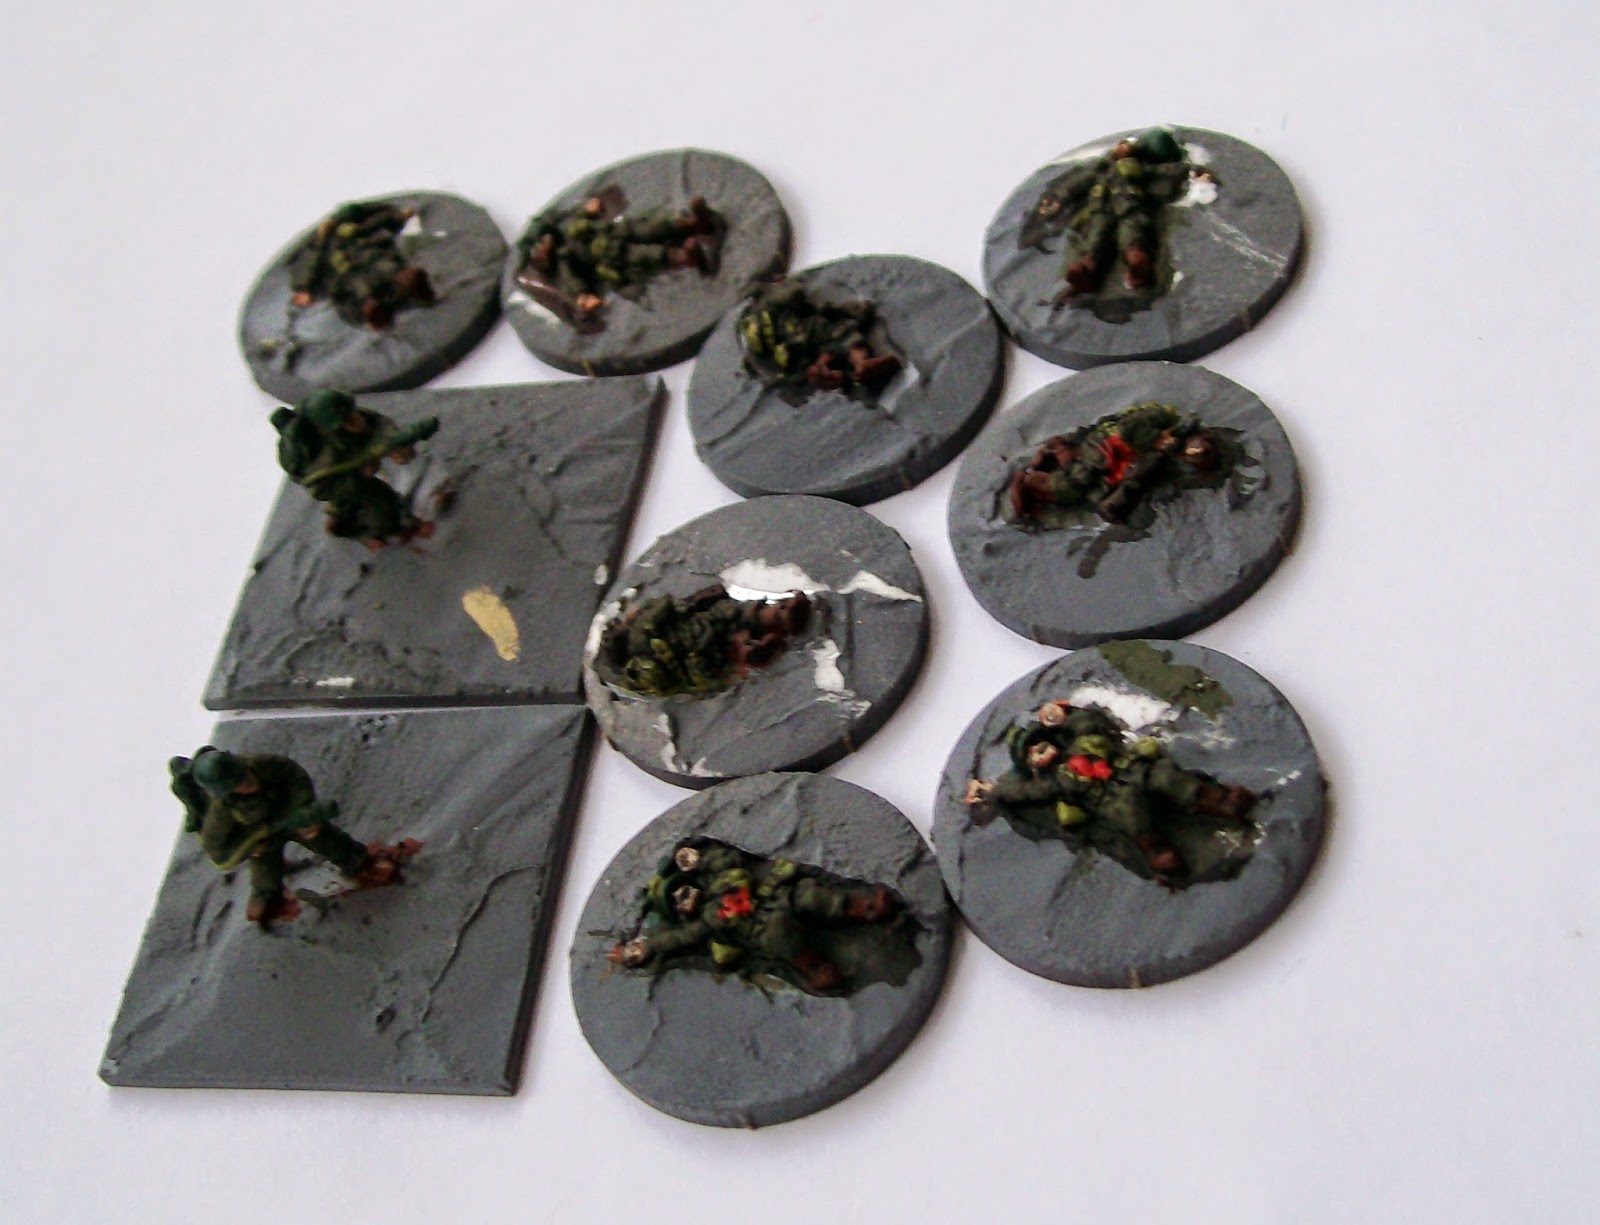
Step 1: I normally paint the figures before I start to paint as this allows me to get the brush round every corner of the model. But the two flamethrower miniatures are single figures so there was nothing to get in the brushes way so I was OK with these two!
Step 2: Superglue them to the base. I can and do use card, plastic and MDF bases depending on the Figures I am mounting and what the rest of the army has.

Step 3: I apply a thin layer of filler on the base. This is to hide the obvious step on the base of the figure and the top of the base. The Filler I use is ready mixed from the 99p store. It can be of variable quality but for the price I am happy to chuck it out if it gets too hard and a little water will not soften it to the right viscosity. It takes a while so leave it over night to dry, just to be sure. You may notice at this stage that the filler has shrunk away from the metal. If is is a small gap don't worry the next stage will fix that. If it is a bigger gap apply a second coat and again wait overnight or at least a few hours!

Stage 4: Using CHEAP acrylic paint. I sue the big tubes you can get in "The Works" as One tube really does last a few years. To get the right flow (Viscosity) I water it down with some black ink. This makes it a good deal easier to paint on and creates a dark base from thick to work. While this is all wet from the paint and Ink that you have painted all over the base (except the edges) I dip the whole base in sand. Use the cheapest sand you can get it is just for texture and not the finished effect.

Having said that It will be better if the sand has dried out and is not wet itself as it clumps up if it is. So I have a bag of builders sand in the shed and have sifted it weeks before needing it and put it in a separate container. Better safe than sorry.

Step 5: Once the paint and sand is dried (again I leave it over night) I re-paint the base with the cheap Ink and cheaper paint (from the works). This seals it all in nicely. Other people will suggest using PVA (White Wood Glue) but I do not find that nessercary. Paint and Ink works just as well if allowed to dry. By using the Ink and the Paint any small holes will also be filled with sand and this will seal them in and at the end you will never know.
Step 6: "Drybrush" the base coat green over the while base. Don't feel you have to wipe any paint of off the brush. at this stage it does not matter if you have a few patches of green that are lighter than the rest. There is still a long way to go.
Stage 7: Using your darkest brown add some paths. Literally just brush it on as you want the brown to act as a base for later colours.

Stage 8: Using a lighter brown I dry brush the paths. And Using a lighter Green I do the rest of the base.
Stage 9: Repeat stage 8 but using progressively lighter tones. I tend to use 3 extra tones. I know it works with less but it is the habit I have gotten into.
Stage 10: for the final highlight I use pure yellow on the grass (as I Make each stage progressively lighter using yellow and not white.) While for the paths I end up with a flesh colour as the top highlight. But the yellow and the flesh paints are done very lightly more a hint and anything. I also don't apply them everywhere. Go and look at some grass and dirt you will see what I mean as it will show every lump and bump as the sun hits it. And It just looks more natural if it is uneven this way. Yeah I know it's work but it really does not take long and to my eye does look right !

Stage 11: I use small clump foliage in a variety of greens ripped into very small pieces but no larger than the waist of the figure and dot two or three to each base. Simply use superglue for instant fixing and don't worry if it goes across more of the base than you first wanted as the superglue will dry clear and shiny. Once this is dry this is your LAST chance to tidy up the figure if you got any grass paint on the figure. So Tidy up as required it does not take long.
Optional stage 11a: Sometimes I will use static grass as this stage and sometimes I will not. It depends on the model and how I feel about it!
Stage 12: The reeds. For the reeds I use a purpose bought wallpapering brush. It came from Wilkinsons and cost a massive £1. As You can see I have used about 1/2 of it and have used it on 2 armies so really when compared to metal figures is cheap enough for the job. Do not use anyone else's, buy one for yourself as it will last and if it is your own no one will complain if you start cutting pieces of off it. And I don't want anyone to get into trouble, and that includes me.

Stage 13: As you can see in the pictures I find it easier to work in clumps of reeds rather than one at a time. I just get 15-25 bristles and cut them all straight with scissors and using superglue hold them in place and viola they stand upright on the models.
This is the tricky bit. Holding them firmly with one hand I again using small scissors cut them to the required height. My advice is to cut them short as the longer they are the more chance they will come off. Say about 5-7mm for a 15mm figure. Occasionally they will not have stuck properly when you cut them. If they all fall over when cut I just drop superglue on them and the reeds look like they have been trampled by something . If some come and some stag I generally apply another drop of glue and reposition the intact reeds in a clump. If you can get the glue on the ones that stood up anyway and IF you put the reeds at ground level that may make them all stronger when you com back and re-cut them. It really is practice and don't expect them all to come out perfectly. They never do.
The other advantage to cutting them is that it allows the reed clumps to be used more than once and we can always do with saving money at time.
Stage 14: I apply a spray mat varnish at the end. This not only protects everything some what it will also help seal everything in. It also has the additional side effect that any superglue ONCE FULLY DRY that has oxidized and given a glossy finish or has some small white flecks will miraculasly turn to a matt finish.
Like I said It is a lot of work and when I have been asked face to face the guy did walk away saying it was too much like work. His choice of course, just as it is your choice to take and use or just discard any or all of the stages that suit you. This is just what works for me.
Thanks for your patience in reading this.
Have a good few days and I will post again soon. All the best Clint


 Foolishly I had put my cavalry too far forward and a second Rebel Veteran Unit managed to charge them, they fled but took some damage . They did stay on the board though. This meant that Scott was able to bring 3 confederate units altogether and keep forcing them back. No complaints my mistake for moving them there in the first place. Eventually by the end of the game they had been whipped out to a man with just nothing I could do to prevent it. Shame but I made the mistake so I will live with it.


