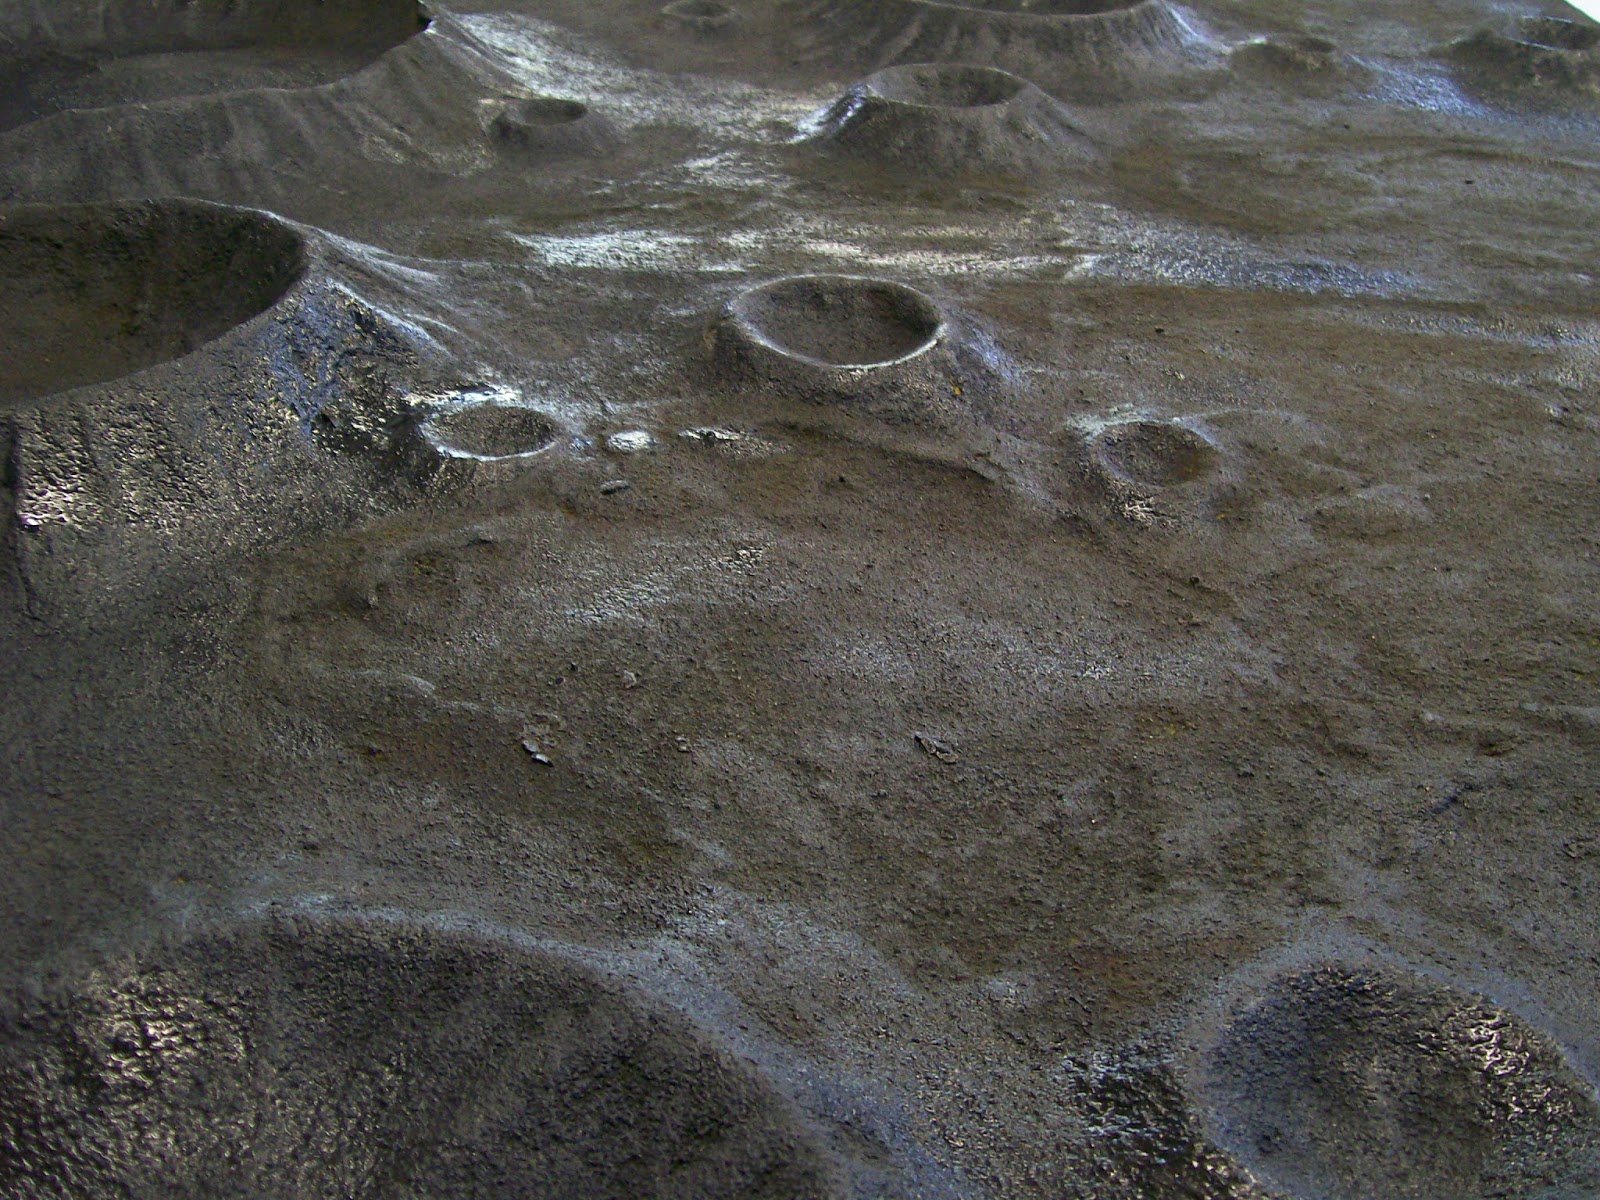
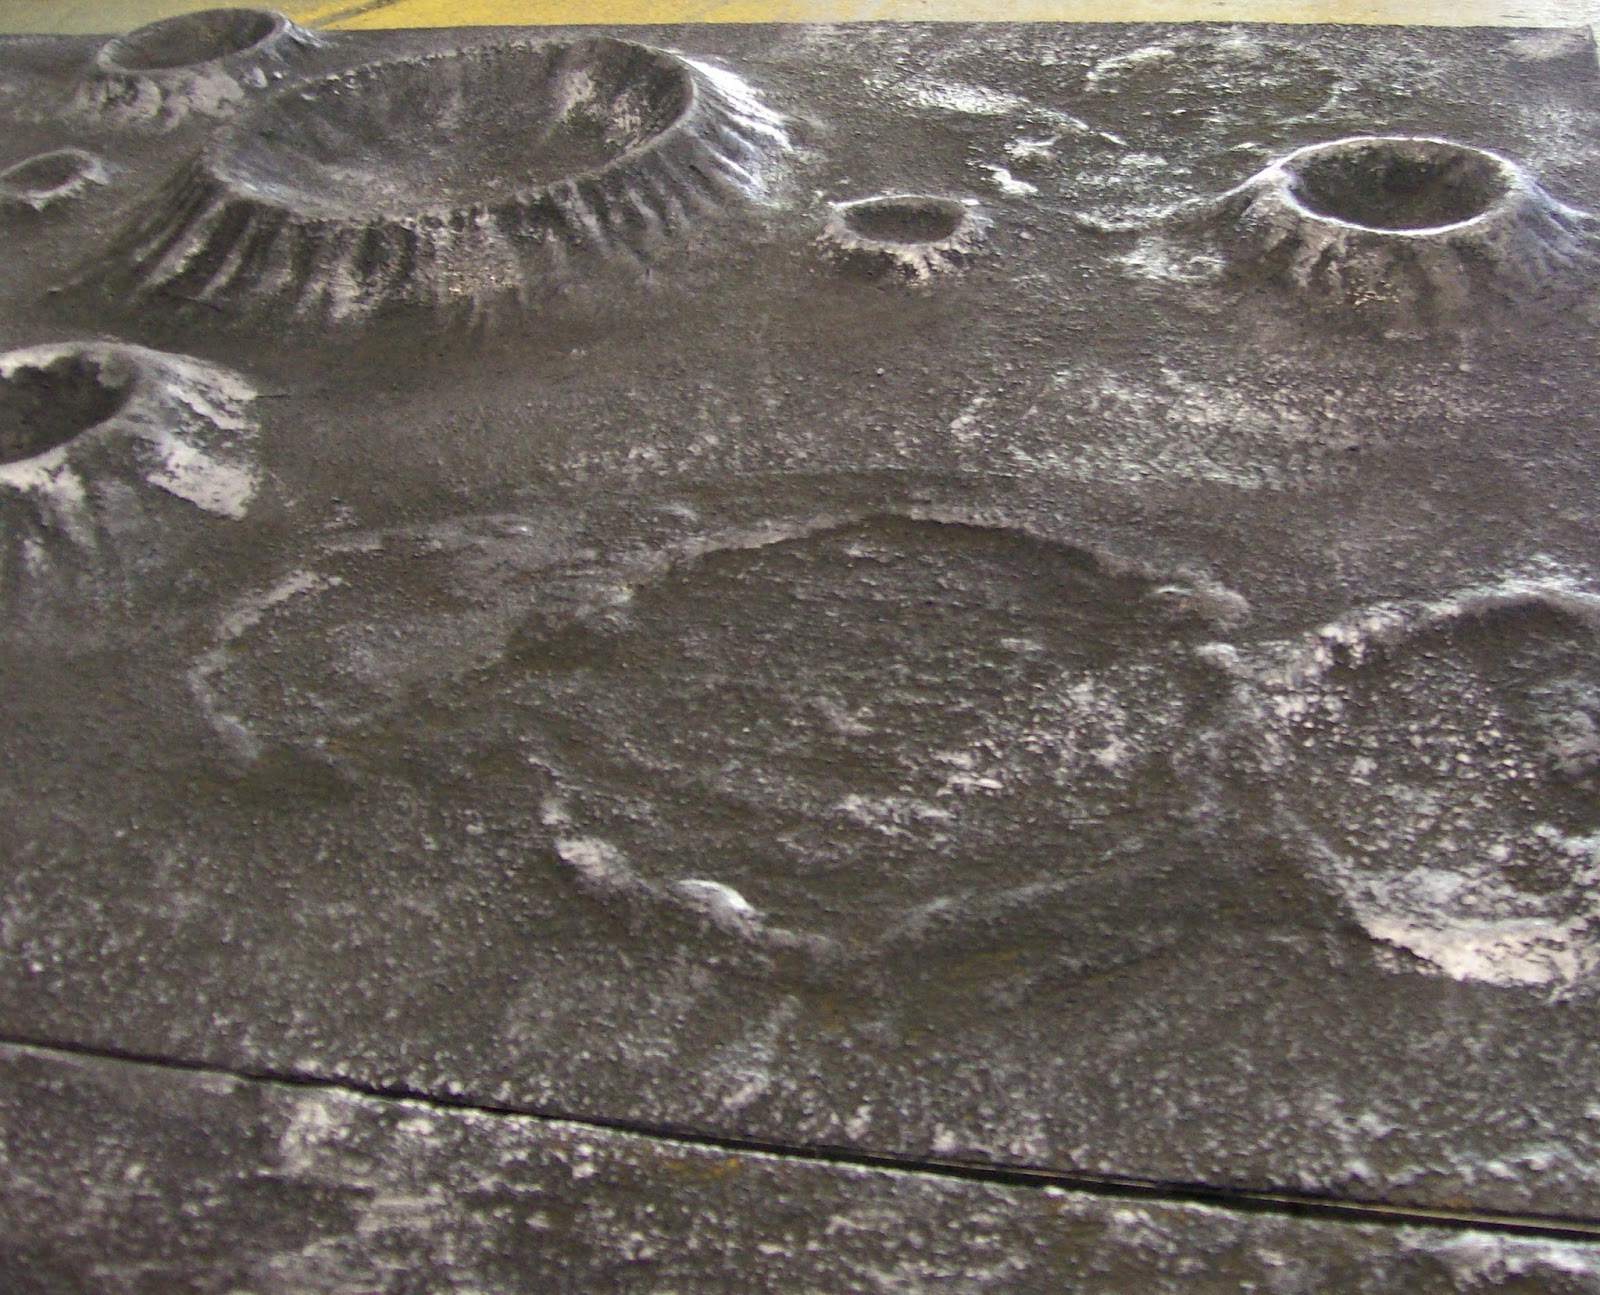
Firstly let me get the book keeping out of the way. I have had to change the play by blog game back to a Napoleonic naval engagement as opposed to WW1 Dog fight. The planes at 1/300th scale were just too fiddly for me. So expect an update about that soon.

OKAY now on to what I have been doing. I was impressed by the response that the UFO project elicited so impressed that I have started to adapt my moon scape boards. I had too many craters on the boards I had made about 5-6 years ago. I have already done a step by step walk through on how to make them on the blog, when I was asked to make some for Ainsty Castings
So using a trusty hammer and wood chisel (long since blunt and now really in need of sharpening!) You can see from the first 2 photos one finished board and one that I have savaged! While the third photo shows some destruction of the second board. All in all I removed about 1/2 the craters from each board which gives some open flat(ish) areas for movement and possibly for the inclusion of a moon base. (Very long term plan do not even suggest it at this stage or someone will want to see one next week).

The removal of the craters did take a while, as they were well stuck down. But Finally I did get the two boards to the correct crater density to open area ratio. (At least in my mind). A lot of the time was me thinking "Shall I get rid of that one or that one, or maybe those two!" But I finally got there and in the photos you can see the MDF board beneath. I kept most of the bigger craters including the one 17 inches across. As it really is easier to put things in them, figures vehicles, dice etc!and it breaks up the uniformity of the boards.

Eventually I was content, and even did the happy dance. As most of us will know the joy of using a hammer! It was not all easy going several times I removed one crater and another came with it OR I damaged a crater that was in close proximity I am sure you get the idea. But for once I did not blame my self. The wonderful thing about the moon is that I have no idea where the craters are or should be and so as long as it looks right it is right.
Repairs were the next stage. As you can see from the photo opposite . So with a trusty roll of masking tape I patched any damaged craters. You can clearly see the system I used overlapping strips of tape to get the slopes of each crater. I know it looks rough, but trust me if done methodically and consistently the technique works. One of the reasons it works is that I do not have people continually poking it to see what it's made of, if you want to know just ask it is easier all round than prodding and poking.

The next photo shows the next step. Having mixed up some paint and white wood glue (PVA (Resin W if we are being technical)). At this stage colour was not an issue as I know it will have several more coats to get the right texture and rigidity. So yes for a very short time it was a green colour. But we are talking minutes and nor hours as before it could dry I sprinkled the areas with building sand (The cheapest I can get). I applied a thick layer to cover as much as possible and not to leave any gaps. I continued the process on any other areas that needed patching. Lots of fun and lots of mess so if you ever try this method do not do it in the house, or you will get nagged and with good reason!
Giving about 40 minutes tor the paint and glue to dry I simply poured the sand of the board swept it up and put it back in the bucket ready for the next coating.
The process was repeated 3 times using plenty of sand, plenty of glue and plenty of paint. In fact so much paint I have to get some more today when I am out. As you can see in the photos you do get sand everywhere and paint/glue a lot of places too, so I do all this stuff in the garage well away from anyone who might complain. I also have a tidy up afterwards as well.
Thrust me it's best to do so!

After a while the boards start to take on the right texture. And by using 3-4 coats of paint/glue/sand will get tough enough to play on. No they will not stand up to being run over in a car but are totally suitable to play on.
With waiting times it will take several hours so perhaps it is best left overnight, just to make sure it is dry. Yesterday for me though was a nice hot sunny day and things were drying very quickly in fact several times the paint and glue was dry before the sand was sprinkled on! In Which case it was re applied in smaller areas and a patchwork was built up. But while it was hot and sunny I pressed on with the task.

In a couple of areas the previous texture was lifting and was creating very small ridges. Rather than fight against it I went with it. Only about 3 mm and rather than worry about it I just applied more paint glue and sane and rejoiced in the slightly uneven texture knowing that when all was dry they would add some low level relief to the boards.

When I was OK with how it looked, I used up the last of my black and dark brown paint and sealed all the areas that had been transformed. Photo not shown. And that is where I have left it over night already to start today when I get some more paint and glue. If it has dried how I hope I will just be on the colouring up today and the boards will be finished by the new week. As is more likely they will require another coat of paint glue and sand they should be ready by the end of next week. So I will show them when I get to stat stage. There may also be some half painted photos as well just as WIP.
That's it for today. Thanks awfully for the enthusiasm of the UFO project it has pushed me onwards over the last few days. And I have now reached a stage I need to restock on modelling supplies before I start again.
Take care, have fun and tune in soon for another update, or maybe something different.
Cheers from Clint
(Post Script) I have a new Avatar as the first time in my life someone guessed who I was named after! It is no secret I was named after Clint Walker but no one has ever guessed before without being told or at least very strong clues being given!
 Ok lets us start by saying NO ONE KNOWS what trees will be like on another planet. I really do not, not got the foggiest idea. NOT A CLUE. I don't even know if we will recognise them as being plant life> I have no idea.
  Now many of you might remember Joe (AKA Zabadak (Link to blog) purchased a plastic "flower" ball from the 99p store. I followed suit. I will turn it into Jungle in short order.
 An easy job, and done quite quickly. You could stick them to plastic counters as well, but you would need to "Key" the surface or the glue will have almost nothing to cling on to. I would choose not to use the glue gun on coins as they really do need to key to the surface. But you are welcome to try it if you like, BUT I would not recommend it.
 Once dry. Trust me it is quick. I waited 30 mins (go and make a cuppa for the better half). It was simply a matter of painting with dark brown on the base and sprinkling sand in place. No need to be precious, every thing is already covered and no one really cares about the bushes. So be quite liberal in the sprinkling.