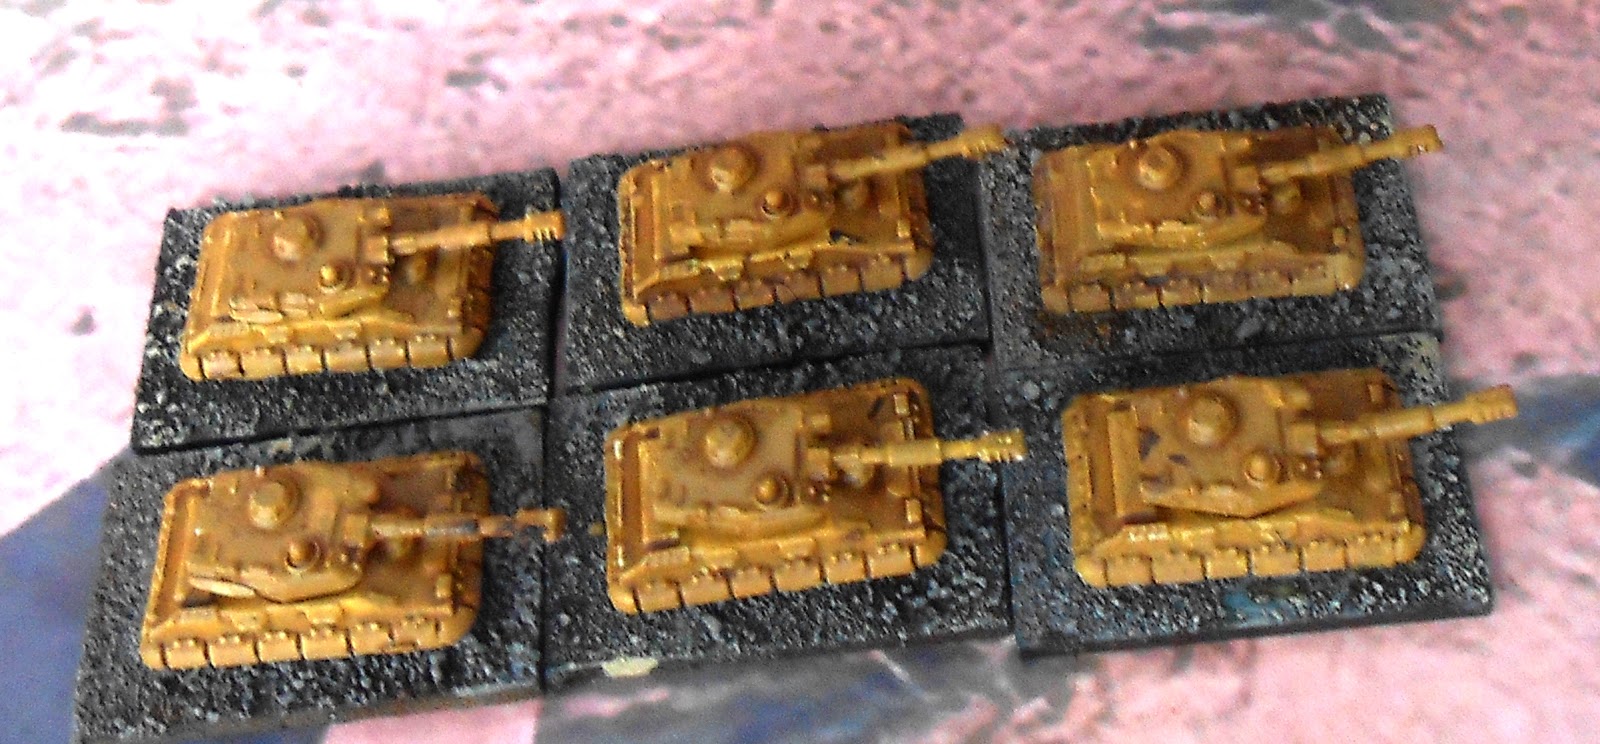
That maybe a record for me. More of that later though.
While I have finished very little that is a long way from thinking I have not done a lot. Just most of it is not anywhere near finished! So let,s start with what I have done.
Here is a platoon of H+R infantry and transports. The transports are 6mm BMP 1's the infantry are equally small. Strickly speaking I need another BMP and a couple more stands of infantry for the HQ of the platoon. But this is a start.
OK so what has taken 35+ years. ? Yes I can hear you ask even from there so I will keep you in the dark no longer. Yes my desert. This is how it was and as I have always been led to believe it might stay. BUT. And that is a big BUT with a capital B. I looked on line and found I can afford the nessercary materials. That being 10mm thick "Foam Board" so I ordered a pack. And Yes it arrived. So my 1/300th scale desert has taken a step forward.

As I only started with 2 A1 sheets buying 5 more sheets Should (I hope) be enough. Time will tell but I am hopeful. So expect desert to feature in upcoming weeks. (You are warned).

The spending continues ,while I work on some 28m figures, appearing soon on this blog. Firstly I squandered money for Pulp alley and bought a Clapper board. Traditionally in Pulp Alley the person with the initiative has a "Directors Megaphone" But at about £2.50 inc postage this was cheaper and will work just as well.
 Finally I bought some MDF buildings for Pulp Alley wild west. Or Ghost town as I am currently calling it. The 2 Sarrissa buildings are exactly the same So I should be able to get them up and running in a week or three! The TTCombat "Grand Hotel" (on the left may take a bit longer! But at least I am on my way.
Until next time (and I hope) some 28mm figures take care good luck and remember everyones paint brush needs to taste paint one in a while.
All the best Clint